Last Updated: May 26, 2026

TL;DR: An auto water change aquarium system uses a drip-in/drain-out setup to continuously exchange a small percentage of tank water — typically 5–10% per day — without manual labor. You need a float valve, a drain line at a fixed height, a freshwater source, and aged/dechlorinated water supply. Cost: $30–$150 DIY. Eliminates the single most neglected maintenance task in the hobby.
Auto Water Change Aquarium System: Build a Continuous Exchange Setup That Runs Itself
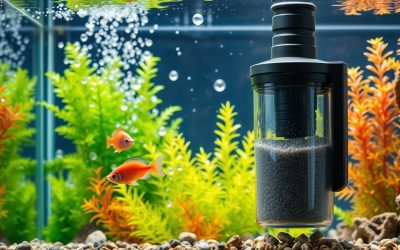
Weekly water changes are the backbone of aquarium maintenance — and the task most consistently skipped when life gets busy. An auto water change aquarium system turns that labor into a passive, continuous process. Small daily exchanges beat large weekly ones for water quality stability, and automation means it actually happens every day instead of “when you get to it.”
This guide covers the full build: the plumbing logic, the water supply options, the chemistry considerations, and why continuous exchange outperforms batch changes for most setups. See the companion gravel cleaner guide for substrate-level waste removal, which auto water change doesn’t replace.
Quick answer: Our top pick in 2026 is the Water source — our #1 rated choice. See the full ranked comparison, alternatives and buying advice below.
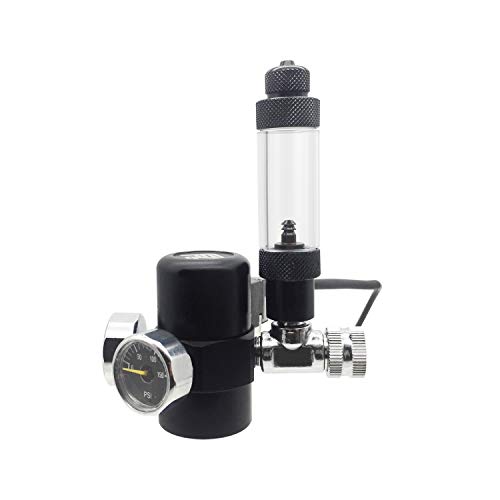
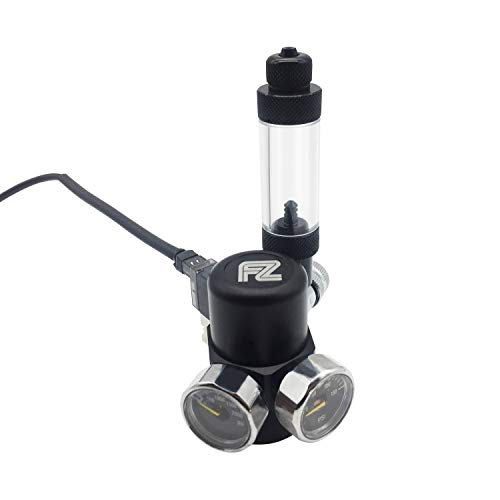
Top Picks at a Glance
As an Amazon Associate we earn from qualifying purchases. Product prices and availability are accurate as of the date/time indicated.


As an Amazon Associate we earn from qualifying purchases. Product prices and availability are accurate as of the date/time indicated.

As an Amazon Associate we earn from qualifying purchases. Product prices and availability are accurate as of the date/time indicated.
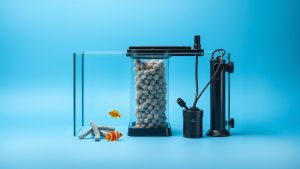
System Components Overview
| Component | Function | Options |
|---|---|---|
| Water source | Supply fresh water continuously | Tap with aging barrel, RODI unit, municipal direct |
| Float valve | Controls inflow rate, prevents overflow | Brass or plastic toilet-style float valve |
| Drip line / flow control | Regulates exchange rate | IV drip line, needle valve, ball valve + airline |
| Standpipe / drain | Fixed overflow at desired water level | PVC standpipe in sump, drain line to waste |
| Waste drain | Removes old tank water | Floor drain, utility sink, garden irrigation |
| Dechlorinator dosing | Neutralizes chloramine before tank entry | Drip-dosing pump, inline carbon block |
How the System Works: The Core Logic
The principle is simple: water enters at a controlled drip rate; water exits via a fixed-height standpipe that maintains constant water level by overflow. The inflow rate equals the outflow rate. Tank level never changes. Water quality improves continuously because waste compounds dilute 5–10% per day rather than accumulating to a weekly purge.
Critical design principle: the drain must be passive and gravity-fed, not dependent on a pump or float switch. If your drain relies on electronics, a power failure floods your room. Standpipes and overflow drains work by gravity — no power required, fail-safe by design.
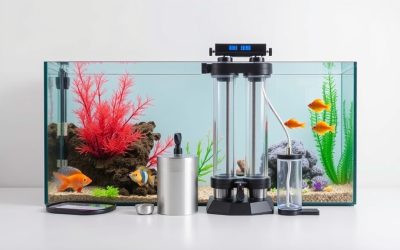
Step-by-Step Build: Sump-Based System
Step 1 — Set sump water level target: Decide the exact water level you want to maintain in your sump. Install a PVC standpipe or elbow at that height. When water level reaches the standpipe lip, it overflows and drains to waste. This is your passive level control — no electronics, no failure modes.
Step 2 — Run supply line from water source: Connect your fresh water source (tap, RODI reservoir, or aging barrel) via 1/4″ tubing or standard hose to the sump. A ball valve or needle valve controls flow rate manually. Set it to drip at your target rate — typically 1–3 gallons per hour for a 60-gallon system (2–5% per day).
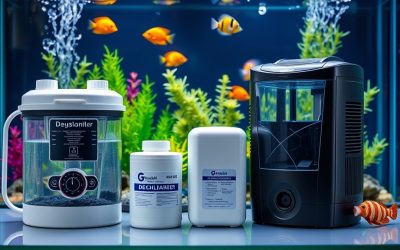
Step 3 — Install dechlorination: If using tap water directly, either install an inline carbon block filter on the supply line or use a drip-dosing pump to inject Seachem Prime at the supply point before water enters the sump. Carbon blocks rated for chloramine removal (not just chlorine) work reliably; verify your municipality uses chloramine (most urban systems do). RODI water needs no dechlorination but requires remineralization — see the water test guide for parameter targets.
Step 4 — Route drain to waste: Run 3/4″ or 1″ drain tubing from the standpipe overflow to a floor drain, utility sink, or outdoors. If draining outside, the slow continuous flow waters plants nicely — nutrient-rich wastewater is excellent garden fertilizer. Ensure drain line has continuous downward slope with no sag points that create airlocks.
Step 5 — Calibrate exchange rate: Measure actual inflow over 1 hour. Adjust valve. Target: 5–10% of total system volume per day. Higher exchange rates provide better water quality but increase water bill, dechlorinator consumption, and heat loss in winter. 5% daily is the standard starting point for most systems.
Display Tank Without a Sump: Rimless Top-Drip Setup
No sump doesn’t preclude automation. Install a small surface skimmer box or drilled fitting near the top of the display tank — water overflows into the drain line when level rises. Supply drips in from a reservoir above. The same drip-in/overflow-out logic applies; it just runs through the display tank directly.
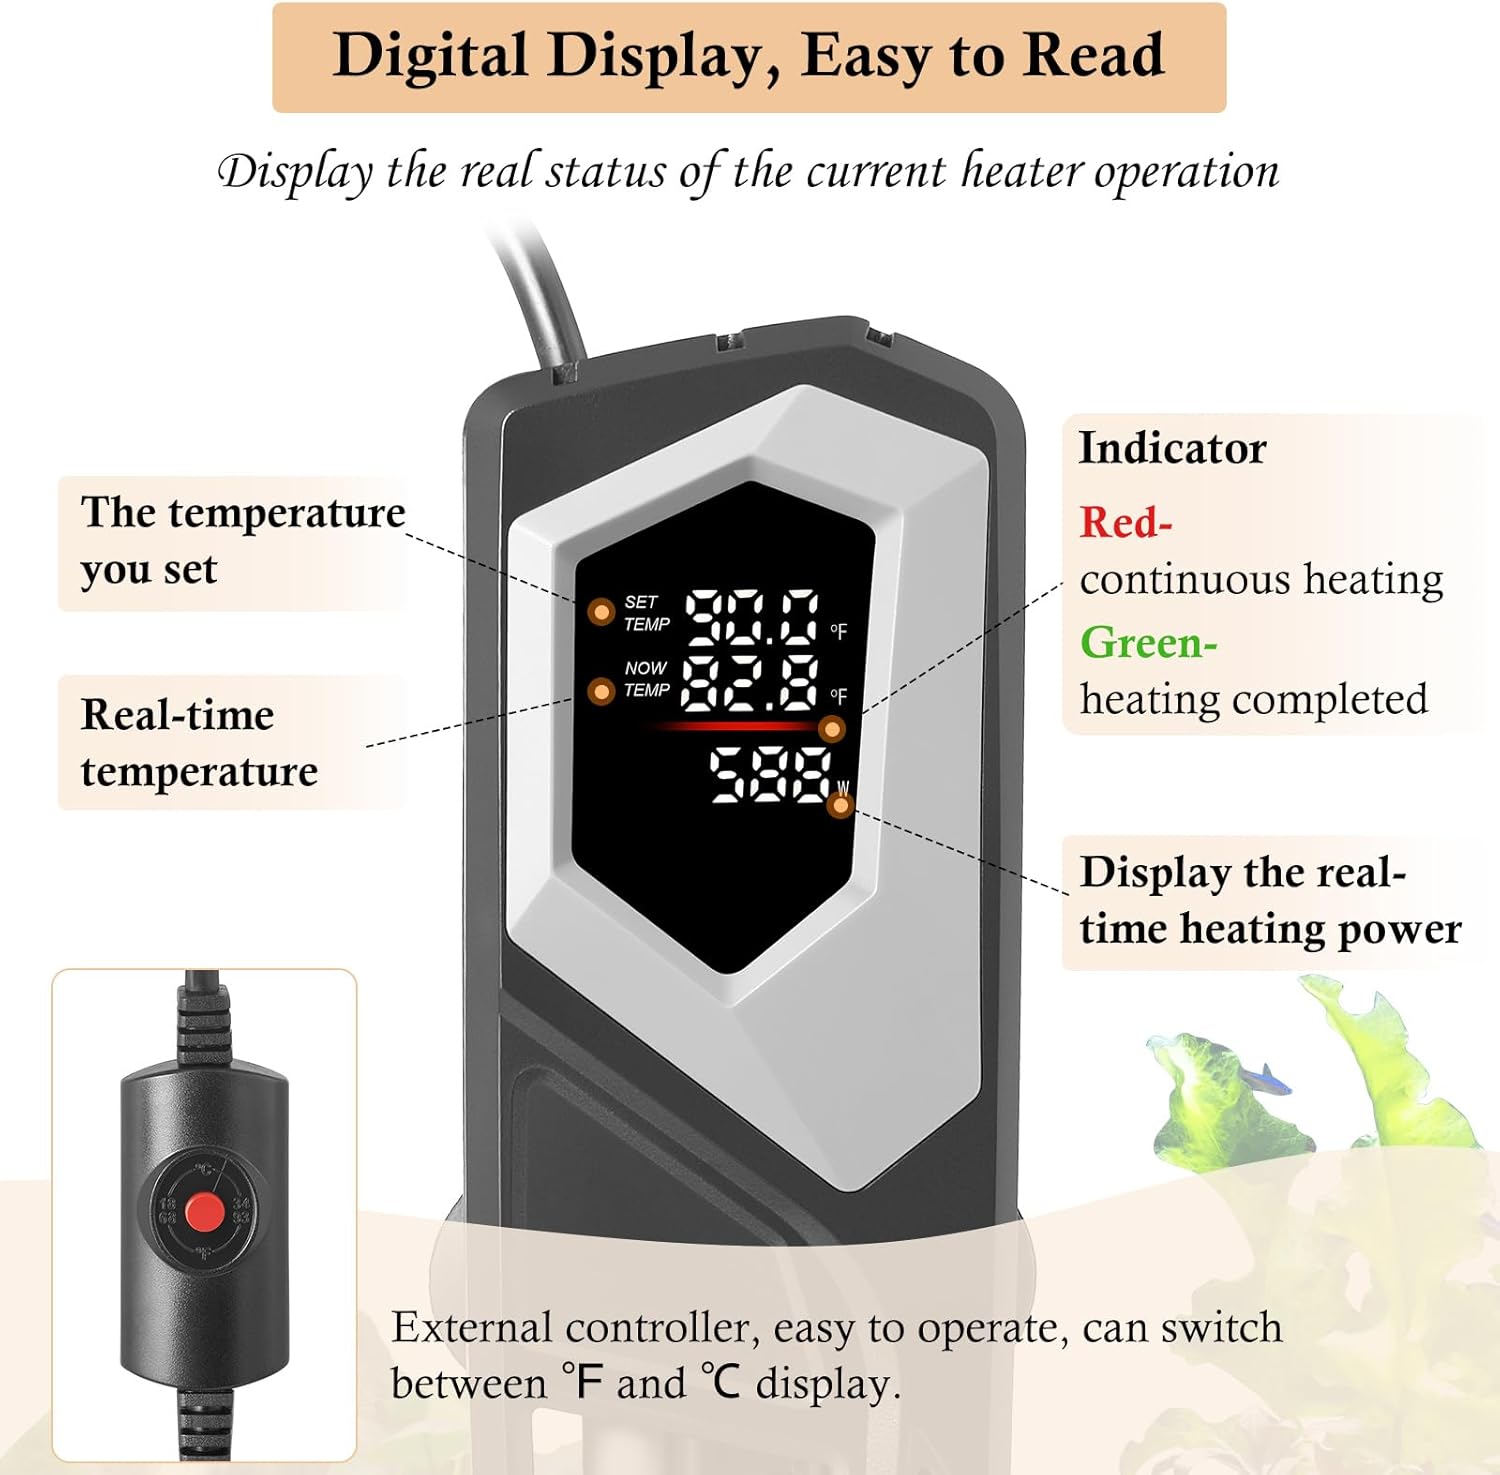
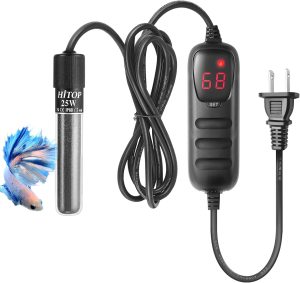
Limitation: temperature differential. If supply water is tap-temperature and tank is heated, continuous drip can cause temperature fluctuation — particularly problematic for shrimp. Solution: pre-warm supply water in a small reservoir with a heater, or slow the drip rate enough that tank heater compensates. Check our see best betta fish aquarium heater for models with reliable thermostat accuracy at this kind of steady-state load.
Water Chemistry: What Continuous Exchange Does and Doesn’t Fix
Continuous exchange excels at diluting: nitrates, dissolved organics, tannins, hormones, pharmaceutical compounds, and accumulating minerals. At 10% daily exchange, nitrates stabilize at roughly 10x the source water nitrate level — so if tap water has 5 ppm nitrate, tank stabilizes around 50 ppm with biological load. Increase exchange rate or reduce bioload to hit lower targets.
What continuous exchange doesn’t replace: substrate vacuuming for anaerobic zones in deep substrates, glass cleaning, filter media maintenance, and hardscape management. The gravel siphon guide covers substrate waste removal, which is orthogonal to water column chemistry.
For heavily planted tanks, monitor fertilizer levels carefully. Continuous exchange dilutes dosing more predictably than batch changes — you may need to adjust fertilizer dosing schedules. The low-tech planted tank guide has baseline fertilizer approaches that work well with auto water change systems.
FAQ
Does an auto water change system work with a saltwater reef tank?
Yes, but with critical modifications. Source water must be RODI only — no tap. New salt water must be pre-mixed to target salinity and specific gravity before entering the system; dripping RODI directly would drop salinity catastrophically. Setup typically involves a dedicated top-off reservoir for evaporation replacement (RODI only) and a separate pre-mixed saltwater reservoir for the water change component, with separate drip lines. More complex but absolutely viable for automated reef maintenance.
How much does an auto water change system cost to run monthly?
Tap water: essentially zero beyond normal water bill. At 5% daily on a 60-gallon system (3 gallons/day), that’s ~90 gallons/month — under $1 in most municipalities. RODI water adds filter cartridge and membrane replacement costs; roughly $0.01–0.03 per gallon of RO produced. Primary ongoing cost is dechlorinator for tap systems or RODI consumables. Far cheaper than the time value of manual water changes at any meaningful wage.
Will continuous drip stress my fish or shrimp?
Only if supply water parameters differ significantly from tank water — particularly temperature, pH, and hardness. Pre-warming supply water eliminates temperature stress. If using RODI, remineralize to match tank parameters before entry. For shrimp tanks especially, slow drip rate (1% per day or less) if supply parameters diverge; shrimp are sensitive to parameter swings even when gradual. Neocaridina handle parameter variation better than Caridina — factor species into your rate decision.
What happens if the supply line clogs or water pressure drops?
Supply failure simply stops water exchange — tank level drops slightly as evaporation isn’t compensated. No overflow risk. The system fails safe on the supply side. Drain line failure is the risk: if the standpipe or drain clogs while supply continues, water overflows. Keep drain lines clear, use mesh screens on standpipe inlets to catch debris, and inspect monthly. A simple float switch connected to a solenoid on the supply line adds electronic overflow protection if you want belt-and-suspenders safety.
Can I automate the remineralization for RODI systems?
Yes. Dosing pumps (peristaltic type) can inject liquid mineralizer at a fixed ratio to inflow rate. Calibrate by measuring TDS and GH/KH of output water, then program pump to dose X mL per hour matching your drip rate. Seachem Equilibrium and similar powders can be pre-dissolved into a stock solution and auto-dosed. More complex than tap systems but gives full control over source water parameters — relevant for Caridina shrimp tanks where specific GH targets matter. Cross-reference target parameters with our shrimp setup guide.
Ready to decide? Our #1 pick for 2026 is the Water source.
Live price & availability on Amazon.
Related Reviews & Guides


Best Aquarium Filter Media: Top Picks for Clear, Healthy Water

Aquarium Uv Sterilizer Inline Canister Review