Last Updated: October 21, 2026
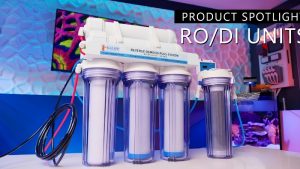
Learning how to choose rodi system gear is a four-step sequence, and the short answer is simple: test your water for chlorine or chloramine, size the batch you need, measure your feed pressure, then match stages and monitoring. A 20-gallon batch runs about 4.8 hours at 100 GPD.
As an Amazon Associate we earn from qualifying purchases.
By David Nguyen
A Four-Step RODI Selection Process
The quick answer is the sequence itself: check your disinfectant, calculate water and time, measure pressure, then choose monitoring and stages. Working in that order stops you from buying output you cannot reach or pretreatment you do not need, and each step below adds the number that makes it actionable.
Step One: Test for Chlorine or Chloramine
Start with your water, because chemistry decides everything downstream. A quick test tells you whether your supply carries chlorine or chloramine, and chloramine specifically demands dual-carbon pretreatment; skipping this step is the most common reason a new system exhausts its DI resin far sooner than expected.
Chloramine is common on treated municipal water and completely invisible to taste, so assumption is risky. If your utility uses it, plan for the extra carbon from the start, since retrofitting pretreatment after the resin has already been hammered costs more than choosing the correct build in the first place.
Step Two: Calculate Water and Time
Next, size the unit from a real batch, not the tank’s gallons. Decide how much water you change at once and how long a batch can run: a 20-gallon batch takes about 6.4 hours at 75 GPD, 4.8 at 100, 3.2 at 150, and 2.4 at 200, which turns a vague need into a concrete output target.
Read those figures as batch times, since rate and time move by different percentages, so a big jump in GPD trims less from a fixed batch than the number suggests. Pick the smallest output that clears your batch in an acceptable window, because buying beyond that mostly adds cost and pressure demand you do not need.
Step Three: Measure Feed Pressure
Third, measure the pressure at the tap you will use, because rated output assumes it. Below about 50 PSI, plan for pressure correction or a booster rather than assuming the membrane will hit its rating, since a starved membrane both underperforms and sends more water to drain than the label implies.
This step prevents the classic mistake of blaming a unit that is simply under-fed. A cheap pressure gauge answers it in seconds, and knowing your number lets you either choose a lower-pressure build or budget for a booster and its isolation up front instead of discovering the shortfall after installation.
Step Four: Choose Monitoring and Stages
Finally, match stages and monitoring to what the first three steps revealed. Do not turn stage count into a universal quality rank; add carbon for chloramine, add DI depth for demanding water, and add a TDS meter so you can see when any of it is spent before finished water quality slips.
A monitored build costs a little more but removes guesswork, which matters most for a first system. Because the earlier steps already fixed your chemistry, batch and pressure needs, this step is simply selecting the architecture that fits them, rather than reaching for the most stages or the highest output on offer.
Match Stage Count to Source Water
With the four steps done, the remaining choice is which stage architecture suits your tap, since more stages is a response to water chemistry rather than a quality ladder. The decision table below sizes the sequence, and the builds under it show how the same steps land on different units.
| Step | What to Check | Number or Threshold | Then Do |
|---|---|---|---|
| 1. Disinfectant | Chlorine vs chloramine | Chloramine present? | Add dual carbon if yes |
| 2. Batch | Gallons and hours | 20 gal in 4.8 h = 100 GPD | Pick nearest class up |
| 3. Pressure | Feed PSI at the tap | Below ~50 PSI | Add booster or lower-PSI unit |
| 4. Features | Monitoring and DI depth | TDS meter included? | Add gauges for certainty |
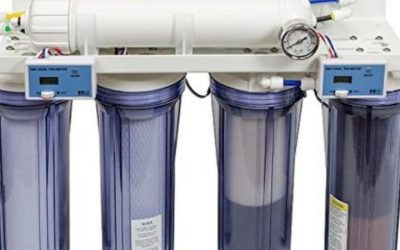
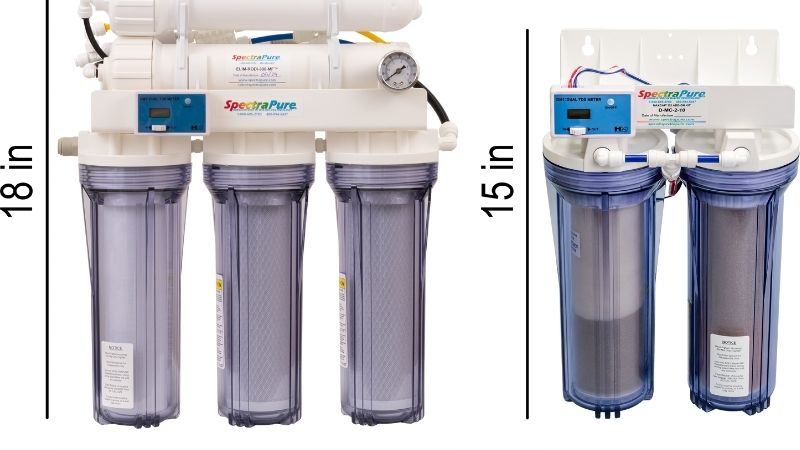
BRS 4 Stage Value Plus 100
Where the four steps land on clean, adequately pressured water, the BRS 4 Stage Value Plus 100 fits, at around $225 as of 09/28/2026 with a TDS meter, pressure gauge and flush valve. Its 100 GPD output clears a 20-gallon batch in about 4.8 hours, matching a common change size and schedule.
It lacks chloramine carbon and wants 65 PSI for full output, so it only suits homes whose step-one and step-three answers allow it. Read it as the outcome of the sequence on favorable water, since the monitoring it includes is what lets you verify the other steps stayed true over time.
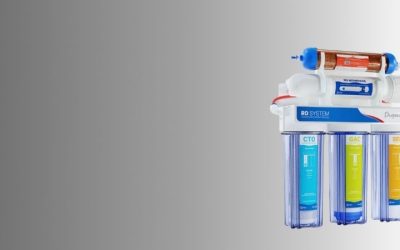
BRS 5 Stage Premium Plus 100
When step one flags chloramine and step three shows softer pressure, the sequence points to the BRS 5 Stage Premium Plus 100, around $300 as of 09/28/2026. Its dual-carbon pretreatment answers the chemistry, and its low 50 PSI minimum answers the pressure, so both constraints are handled by one build.
The trade-off is a 3:1 reject ratio, sending about thirty gallons to drain per ten produced. It is the natural result of the process when your water is demanding, illustrating that the steps, not a preference for more stages, are what drive you toward the extra carbon and the lower pressure threshold.
BRS 4 Stage Value Plus 150
If step two shows a large batch on a strong line, the sequence supports the BRS 4 Stage Value Plus 150, around $300 as of 09/28/2026, which clears a 20-gallon batch in about 3.2 hours. Faster output suits frequent big changes when your pressure comfortably clears the higher requirement.
It needs 65 PSI minimum and targets low-chlorine water, so it only fits when steps one and three permit it. This is the process choosing speed deliberately, not defaulting to it, since a 150 GPD unit is worth its higher pressure demand only when your batch size actually justifies the shorter fill time.
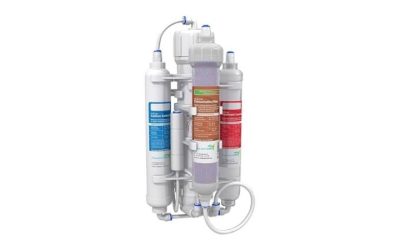
AquaticLife Twist-In 100
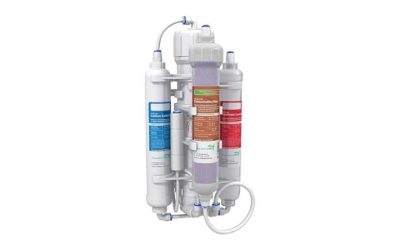
Where the steps prioritize a compact, simple install, the AquaticLife Twist-In 100 fits a 12 by 4 by 13 inch space with tool-less cartridges, around $150 in a recent snapshot. Its 100 GPD output matches a 20-gallon batch at about 4.8 hours while staying easy to service by hand.
It suggests 65 PSI for full output and ships without standalone gauges, so pair it with a TDS meter to keep step four honest. Its cartridge format ties you to its own refills, so choose it when the sequence values footprint and easy media swaps as much as the output number itself.
Frequently Asked Questions
People choosing a first RO/DI ask how output relates to tank size, whether 75 or 150 GPD is right, whether they need the Plus package, and what pressure matters. The answers below follow the same four-step logic, attaching numbers so each decision is concrete rather than guessed.
Does RODI Output Depend on Tank Size?
No; it depends on your batch and available time. Size from how much water you change and how long a batch can run, so a 20-gallon change at about 4.8 hours points to a 100 GPD class regardless of whether the tank is 40 or 90 gallons. Display volume is context, not the sizing equation.
Reading tank gallons as output leads to overbuying or underbuying, and feed pressure caps real output more than tank size does. Follow the second step, calculate water and time, and let that number, not the aquarium’s label, decide the class you buy for a reliable match to your routine.
Is 75, 100 or 150 GPD Right for Me?
It depends on your batch and pressure. A 20-gallon batch runs about 6.4 hours at 75 GPD, 4.8 at 100, and 3.2 at 150, so 100 GPD is a comfortable middle for many routines while 150 suits frequent large changes if your line comfortably clears the higher pressure requirement it demands.
Frame the difference as batch time rather than headline speed, since a big GPD jump trims less from a fixed batch than it appears. Match the tier to steps two and three together, because a fast unit starved of pressure delivers less than a modest one fed properly on the same tap.
Do I Need the Plus Package?
Only for what it actually adds. The Plus packages bundle monitoring or broader pretreatment, so they are worth it when step one shows chloramine or when you want a TDS meter and gauges for certainty on a first system. They are not a blanket quality upgrade you need regardless of your water.
Stepping up costs a modest amount, often under twenty dollars for pretreatment, so weigh it against your step-one and step-four answers. If your water is clean and you already own a TDS meter, a base build may suffice; if not, the Plus package usually pays for itself in avoided guesswork.
What Feed Pressure Do I Need?
Enough to clear your chosen membrane’s minimum, which is why step three exists. Many builds want at least 50 to 65 PSI, and below about 50 PSI you should plan a booster or a lower-pressure unit rather than assuming rated output, since a starved membrane underperforms and wastes extra water.
Measure at the tap you will use, since pressure varies by location and time of day. Knowing the number lets you choose a build that fits your plumbing or budget a booster and its isolation from the start, which is far cheaper than diagnosing the shortfall after the system is already installed.
Final Thoughts
Knowing how to choose rodi system gear comes down to running the four steps in order: test for chloramine, size a real batch such as a 20-gallon fill at about 4.8 hours on 100 GPD, measure feed pressure against the membrane’s minimum, then match stages and monitoring to what those reveal, not a stage-count race.

Best Aquarium Siphon: Flow Rate, Reach and Priming Method
Best Low Maintenance Aquarium Setup: Proven Reliable Picks