Last Updated: September 25, 2026
Choosing well is a calculation ending in a rate, not a guess at gallons or horsepower. Knowing how to choose an aquarium chiller means turning volume, temperature drop, and continuous heat into a BTU-per-hour requirement, then matching that rate to a model’s capacity and feed flow rather than a single label.
As an Amazon Associate we earn from qualifying purchases.
By David Nguyen
Find the Cooling Rate Your Chiller Must Deliver
Before comparing models, work out the cooling rate your tank needs. Measure the total water volume, the temperature drop from current to desired, the energy that drop represents over a chosen time, and the continuous heat your equipment adds, because those combine into the rate every chiller is judged against.
Measure Total Volume
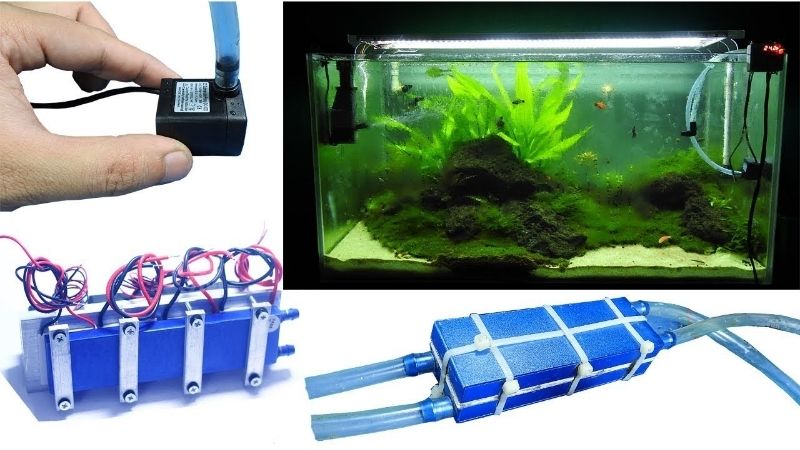
Start with true volume, including the sump, not just the display. A 70-gallon system, for example, holds more water than the tank alone suggests once a sump is added, and a chiller calculator uses that total as its first input, so measure the whole loop rather than the display’s nominal size.
The mistake is sizing to the tank’s label. Sumps, reactors, and plumbing add water that the chiller must cool, so underestimating volume undersizes the requirement. Add every part of the system that holds water, then carry that honest total into the temperature and energy steps that follow.
Set the Temperature Drop
Next, set the drop from your current summer peak to your target, in Fahrenheit. This difference, the ΔT, is what the chiller must overcome, so a tank drifting to 82 degrees that you want at 78 needs a 4-degree drop, which combined with volume gives the heat quantity to remove.
Measure the real peak, not a guess. A tank’s hottest point in summer, under full lighting, sets the drop the chiller must handle, so log it across a hot day. An optimistic drop undersizes the unit, while measuring the true ΔT keeps the rate calculation grounded in the conditions you actually face.
Convert the Drop to Energy
Turn volume and drop into a heat quantity: gallons times 8.3 times ΔT gives BTU of energy. A 70-gallon system with a 4-degree drop is about 2,324 BTU, the heat to remove to reach setpoint once, which is a quantity, not yet a rate, so it is only the first half of the requirement.
Do not stop at the quantity. That 2,324 BTU says how much heat, not how fast, so it must be turned into a rate in the very next step. Treating the raw BTU figure as a per-hour rating is the classic error, so hold it as energy until you add a proper time basis.
Add the Continuous Heat Load
Finally, account for heat that keeps arriving from lighting and pumps. These add a steady load on top of the pull-down, so the required rate is the pull-down rate plus that continuous gain, which is why a unit sized only for the initial drop still struggles to hold temperature on a hot, brightly lit day.
List the wattage of lights and pumps as a guide to the load. The more continuous heat your equipment adds, the higher the sustained rate the chiller must supply, so include it before choosing a model. Skipping this step is why paper-sized chillers run constantly once the tank is fully running.
Choose an Aquarium Chiller Step by Step
With the requirement understood, selection becomes four ordered steps that end in a rate compared to a rate. Convert your energy to a rate, match it to a model’s capacity, confirm the feed flow, then check ambient and electrical needs, and the table below maps common symptoms to a first action.
| Symptom | Sign Alongside | Likely Cause | First Action |
|---|---|---|---|
| Water won’t reach setpoint | Chiller runs constantly | Undersized for continuous load | Recompute the rate with heat load |
| Cooling seems weak | Low flow through the unit | Feed flow below the range | Match the pump to rated GPH |
| Chiller short-cycles | Room runs very warm | Poor ventilation or high ambient | Improve airflow; check ambient |
| Sizing feels off | Numbers do not line up | No rate basis used | Compare a rate to a rate |
Step 1: Turn Energy Into a Rate
First, convert the heat quantity into a BTU-per-hour rate by dividing it by the pull-down time you want. A 2,324-BTU pull-down over an idealized 4 hours is about 581 BTU per hour before the continuous load, and that rate, not the raw BTU figure, is what you carry into model selection.
Then add the continuous heat to that rate. The pull-down rate alone understates the requirement, so combine it with the steady gain from lights and pumps for the sustained rate the chiller must hold. Comparing a rate to a rate is the whole point; never match a BTU quantity to a per-hour rating.
Step 2: Match Capacity Data
Second, compare your required rate to each model’s published capacity on the same basis. A universal BTU-per-hour-per-gallon rule is unverified, so do not rely on a shortcut; instead read each unit’s stated cooling data and pick one whose rated rate exceeds your requirement with a sensible margin for hot days.
Keep the comparison rate-to-rate. Manufacturers may express capacity differently, so translate everything to a per-hour rate before judging, and treat gallon or horsepower labels as rough shortlisting only. The final decision rests on a documented rate that clears your calculated requirement, not on a gallon rating.
Step 3: Confirm the Feed Flow
Third, confirm the model’s feed-flow range and plan a pump to sustain it. Ranges are model-specific, such as 132 to 396 GPH on one unit or 240 to 960 GPH on another, so the feed pump must hold the unit’s band through your plumbing for it to reach its rated cooling.
Undersized flow undoes correct sizing. A chiller starved of flow behaves like an undersized one, so match the pump to the range, keep plumbing short and clean, and verify flow stays in band over time. Flow is part of the selection, not a detail to settle after the chiller arrives.
Step 4: Check Ambient and Electrical
Fourth, verify the unit suits your room and power. Confirm the ambient is within the manual’s range, provide ventilation so the chiller is not fighting its own exhaust, and check the electrical draw and outlet against the unit’s requirements before committing, since a hot, sealed spot cuts cooling regardless of sizing.
Plan placement for airflow and access. A chiller with clearance and cool intake air holds its rated capacity, while one boxed in a warm cabinet runs harder and cools less, so treat ventilation and electrical fit as part of the choice, not an afterthought handled once it is installed.
Frequently Asked Questions
The same questions come up whenever someone works out how to choose an aquarium chiller, and each answer returns to a rate under real conditions. These cover whether horsepower is a good guide, what BTU means, whether oversizing is safe, and how location affects performance.
Is Horsepower a Good Sizing Guide?
Not on its own. Horsepower is not a cooling rate you can compare across brands, and no verified universal rule maps horsepower or gallons directly to a requirement, so it works only for rough shortlisting. The reliable guide is a BTU-per-hour rate you calculate and match to a model’s published capacity.
Use horsepower to narrow, then verify with a rate. A fractional-horsepower class hints at a size bracket, but the decision must rest on comparing your calculated rate to the unit’s documented cooling under comparable conditions, not on the horsepower figure alone, which hides the heat load and ambient that really matter.
What Does BTU Mean Here?
BTU is a unit of heat energy, a quantity, while BTU per hour is a rate. Gallons times 8.3 times the temperature drop gives BTU of energy to remove, such as about 2,324 BTU for a 70-gallon system dropping 4 degrees, which is how much heat, not how fast it is removed.
Convert energy to a rate before comparing. Divide the BTU quantity by the pull-down time and add the continuous load to get a BTU-per-hour rate, then match that to a chiller’s rating. Keeping energy and rate distinct is the core of sizing a chiller correctly rather than by a mislabeled number.
Should I Oversize a Chiller?
A modest margin is wise; a large oversize is not. Some headroom above your calculated rate covers hot days and continuous load, but a much larger unit short-cycles, which wastes energy and stresses the compressor, so aim to clear your requirement comfortably rather than by a wide margin.
Right-sizing beats both extremes. An undersized chiller runs constantly and never catches up, while a heavily oversized one cycles inefficiently, so size to your rate with sensible headroom. Matching capacity to the calculated requirement, with a little margin, gives steady cooling and reasonable energy use across the season.
Does Location Affect Performance?
Yes, strongly. A chiller in a hot, sealed cabinet recirculates its own exhaust and cools less, while one with clearance and cool intake air holds its rated capacity, so placement can easily make a correctly sized unit behave like an undersized one on a warm day.
Plan for airflow and ambient limits. Keep the unit out of a closed, warm stand, give it space to breathe, and stay within the manual’s ambient range, since a hot room raises both the heat load and the strain on the unit. Good location protects the cooling rate your sizing promised.
Final Thoughts
Knowing how to choose an aquarium chiller is a repeatable process ending in a rate: measure total volume, set the temperature drop, convert it to energy, add the continuous heat load, then turn that into a BTU-per-hour rate and match it to a model’s capacity, feed flow, ambient, and electrical needs.
Related Reviews & Guides





Best Bio Media for Aquarium Filter: Compared by the Numbers
Best Quiet Pond Filter System: Calm Low-Noise Smart Picks