Last Updated: October 21, 2026
A smooth rimless build follows an order, not a guess: confirm support and load, level with the maker’s mat method, lock equipment and livestock, then fill, run, test, and cycle. The best rimless aquarium setup checklist treats each of these as a gate with a pass condition, so a 48-hour wait is never mistaken for a finished cycle.
As an Amazon Associate we earn from qualifying purchases.
By David Nguyen
Rimless Aquarium Setup Checklist
Work through the gates in order, since each depends on the one before it. Confirm the stand and loaded weight, follow the manufacturer’s leveling and mat method, lock livestock and equipment before filling, then fill, run, test, and cycle. The table below summarizes each gate, its key number, and its exception.
| Input | Result | Note | Exception |
|---|---|---|---|
| Support/load gate | First gate | 8.33 lb/gal; MINI 25 ~236.9 lb full | Add substrate; stand must exceed full load |
| Leveling/mat gate | Manufacturer-specific | Waterbox includes EVA mat | AquaTop mat not verified |
| Equipment gate | System completeness | Filter/heater/light/lid by livestock | Bare glass is not a complete system |
| Cycle gate | Biological readiness | 0 ppm ammonia + 0 ppm nitrite | Time varies; 48 h is not a cycle |
Confirm Stand, Footprint and Load
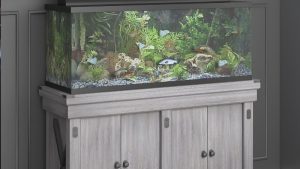
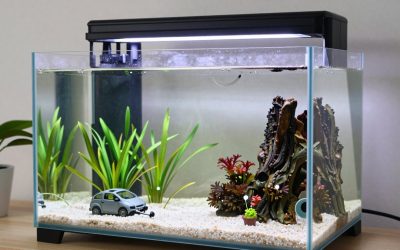
Start by confirming the stand and surface can carry the fully loaded tank, since support is the first gate. Water alone is about 8.33 pounds per gallon, so a 24-gallon MINI 25 reaches roughly 236.9 pounds with the tank before substrate, and the stand must be level and rated above that full figure.
Add substrate, rock, and equipment to the water-and-tank baseline when checking the rating. Those additions push the real load higher, so treat the baseline as a floor rather than the final weight, since this gate passes only when the support is level and exceeds the full loaded weight of the running system.
Follow the Manufacturer Leveling and Mat Method
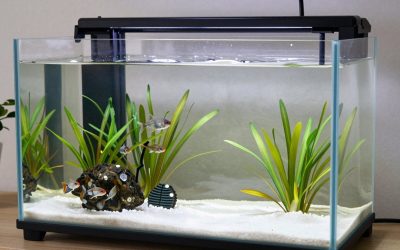
Level the tank using the maker’s specified method, since leveling and mat requirements are model-specific. Waterbox CLEAR MINI tanks ship with an EVA self-leveling mat, so use it as directed, because a rimless tank relies on even support, and the maker’s approach protects the seams better than a general habit.
Do not add or remove a foam mat based on a universal rule, since brands differ. The AquaTop mat requirement is not verified in the source, so follow that product’s own instructions rather than assuming, because this gate passes when the tank sits level on the support the manufacturer specifies for that exact model.
Lock Livestock and Equipment Before Filling
Decide the livestock and required equipment before adding water, since the tank is only a shell. Bare rimless tanks need a filter, a heater where the species requires it, a light, and a lid as applicable, so plan those to your intended inhabitants, because a tank model is not a complete life-support system by itself.
For saltwater or specialized setups, add the extra gear this gate demands before filling. That can include salinity testing, appropriate flow, or species-specific heating and lighting, so confirm the full equipment list, since this gate passes only when the system is complete for the animals you keep.
Fill, Run, Test and Cycle
Fill and run the system, then cycle it by testing rather than by the calendar. Aqueon notes that establishing the biological filter can take several weeks to months, so running for a couple of days is not a cycle, and readiness is shown by water tests, not by elapsed time after setup. Test first, then stock the tank.
Use zero ammonia and zero nitrite as the pass condition before normal stocking. The timeline varies with method, seeding, temperature, and bioload, so keep testing until those readings hold, because this final gate passes on measured water chemistry, not a 48-hour settle period after setup. Test, do not wait a day.
Adjust for Your Situation
The gates above apply to every rimless build, but the details shift with your goal. A planted scape, a small apartment, a saltwater system, or a family with kids each changes what you verify at the equipment and support gates, so adjust the checklist to your situation rather than treating one plan as universal.
Adjust for a Planted Setup
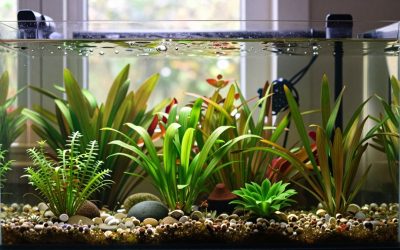
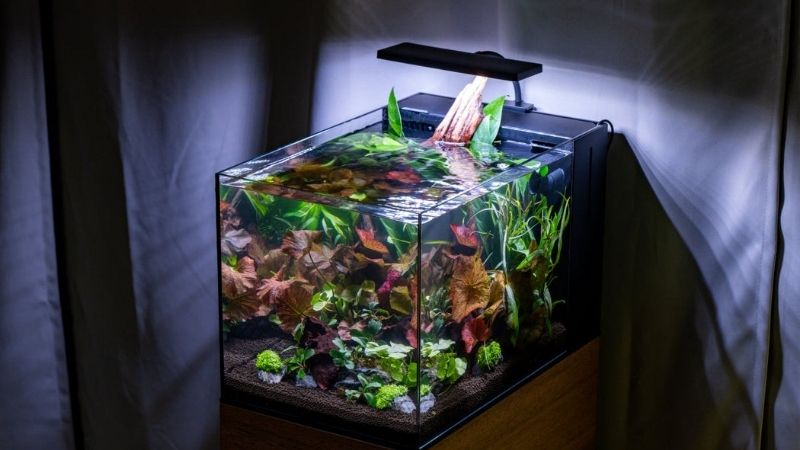
For a planted scape, lead with tank geometry, since footprint and depth set your layout room. Compare the MINI 30 at 31.5 by 15.7 inches against the HCA-26G at 43.3 by 11.81 inches, so you choose the footprint your aquascape needs before adding the lighting, CO2, and substrate that actually drive plant growth.
Then size the planted-specific equipment separately, since the tank is only the stage. Light strength must reach the substrate at your chosen depth, and CO2 and nutrients follow the scape, so plan those after the geometry, because a beautiful footprint still needs the right systems to grow plants well.
Adjust for a Small Apartment
For a small apartment, put the support and load gate first, since space and weight dominate. The MINI 16 reaches about 157.6 pounds filled, the MINI 25 about 236.9, and the MINI 30 about 315.2 before decor, so confirm the surface rating and access before committing to a footprint in a tight room. Keep access clear.
Then check maintenance reach and clearance, since a cramped placement discourages upkeep. Ensure a siphon and bucket fit around the tank and that you can service it without moving furniture, so the apartment build stays practical, because a tank that is hard to reach is a tank that gets neglected over time.
Adjust for Saltwater
For saltwater, verify marine compatibility and choose between an all-in-one and a bare tank. An integrated rear-filtration system simplifies plumbing while a bare tank needs a separate filtration plan, so decide the architecture at the equipment gate, since salt water changes what a stable system requires.
Add salinity and temperature control to the equipment list, since marine parameters must stay steady. Plan a refractometer, reliable heater, and species-appropriate flow and lighting, so the saltwater gate passes with the right gear, because a marine tank depends on stable, measured conditions as much as the tank.
Adjust for Kids or Animal-Specific Habitats
For a family or a specific animal, let welfare and supervision override aesthetics. An adult must own the heavy lifting, electrical gear, and testing in a household with children, so plan roles at the setup stage, because a rimless tank is an adult-managed habitat rather than a child’s responsibility or a toy.
Research animal-specific minimums before buying the shell, since turtles, goldfish, and cichlids each have particular needs. Their space, filtration, and lid requirements must be met, so confirm those against the tank first, because the checklist only succeeds when the setup suits the actual inhabitant.
Setup Checklist FAQs
These questions come up when keepers work through a rimless setup. Each answer leads with the direct call, then the condition that changes it, so you can apply the gates to your own tank and livestock rather than assuming a fixed waiting period, or a universal mat rule, settles a safe setup. Follow the maker’s rule.
How long should I wait before adding fish?
Until the biological cycle completes, which Aqueon says can take several weeks to months. A 48-hour wait may let temperature and equipment settle, but it is not proof of nitrifying capacity, so use water tests rather than a set number of days to decide when the tank is ready. Test, do not count days.
Expect the timeline to vary with method, seeding, temperature, and bioload. Because those factors shift the pace, keep testing rather than counting days, since adding fish before the cycle finishes is a leading cause of early losses, and the readiness gate is chemical, not calendar based. Keep testing until zero.
How do I know cycling is actually complete?
When water tests show zero ammonia and zero nitrite, which is the readiness gate. Confirm those readings hold, and check that nitrate and other conditions suit your planned livestock, so the decision rests on measured chemistry rather than on how long the tank has been running since setup. Retest to be certain.
Test over several days to be sure the readings are stable, not a one-off. A single good result can mislead, so verify the zero ammonia and nitrite persist, because a stable, established biological filter is what makes the tank safe, and repeated testing confirms it far better than elapsed time.
Can a regular table hold a 24-gallon rimless aquarium?
Do not assume so, since the loaded weight is substantial. The MINI 25 reaches about 236.9 pounds with water and tank before substrate, rock, or equipment, so a table must be rated for that full running weight and offer level, full contact, not just support the empty glass. Rate the surface first.
Use a stand or surface rated well above the baseline, and add for decor. Substrate and hardscape push the total higher, so treat the figure as a floor and verify the rating, since overloading ordinary furniture with a filled aquarium is a common and avoidable structural mistake. Level, full contact matters.
Does every rimless aquarium need a foam mat?
No, there is no universal foam-mat rule. Waterbox CLEAR MINI tanks include an EVA self-leveling mat, while other brands may use different construction, so follow the exact manufacturer installation requirement for your model rather than adding or removing a mat based on a general assumption. Follow the maker’s method.
Match the leveling method to the specific tank, since requirements differ. Because a rimless tank relies on even support, use what the maker specifies, so the setup is correct for that product, since improvising against the instructions can compromise the level and the seams the mat is meant to protect.
Final Thoughts
A smooth build is an ordered sequence of gates, so the best rimless aquarium setup checklist runs from support and leveling through equipment to a tested cycle. Pass each gate before the next, adjust for your scape, space, water type, or family, and let zero ammonia and zero nitrite decide when to add fish.
Glass Canopy vs Hood Which Is Better: Top Compared Setup Guide
5 Gallon vs 10 Gallon Aquarium: Which Is Right for Your Home (2026)